At the Sea Lion, Again

Screenshot from PhotoPills
It’s been mostly overcast lately, especially on those nights when the moon was not up. I am used to it being overcast when the northern lights are predicted to be active, but it is what it is.
For the night of Canada Day (I am off work), the weather forecast called for a few clear sky hours between midnight and about 5am. The moon is also supposed to have long set, and the Milky Way vs the Sea Lion is where I’d like it to be. I choose the Sea Lion because it is: a- a beautiful area, and b- a short walk from the parking lot. This is how it looked like that night on PhotoPills
I put together the gear and items I’d need for my little project, including camera, lenses (14mm f1.8, 20mm f1.8 and 24-70mm f2.8), tripod, lights, snack, water and BUG SPRAY!
My plan was to be there around midnight, take a nap in the car, be up at 1:30am, be on location 15 minutes later and then take it from there.
I had a few compositions in mind, but I also wanted to test a few lighting scenarios. Finding something that appealed to me took almost half an hours, and I by the time I found something that worked for me, I was soaking wet; it was a warm and humid night. Fortunately, the bugs were not out in force, and the bug spray did not disappoint.
The first composition I did was a panorama taken from a little beach that you get to by scrambling down an 12-14 foot cliff, this was easy even in the dark since I did it countless times before, and I had my headlight also. I placed my LED light strategically high up on a cliff behind me pointing toward my composition, put it on its lowest setting and set it to warm light. To maximize the night sky and minimize the foreground, I lowered the tripod to almost 8 inches from the ground. My tripod does not have a centre column which allows me to do so.
I levelled the tripod head, and double checked the camera was level in all orientations to make stitching the panorama as smooth as possible. I used my 14mm lens wide open, set focus to manual and used to view finder to focus on a bright star in the sky. You know it’s in focus when its size is the smallest. I set my ISO to 6400, used a 5 second shutter delay to prevent vibrations, and I set my exposure to 10 seconds to prevent star trails.
I took a few test shots to make sure all was good, and then took a few panoramas, some focusing on the sky, and others focusing on the foreground for focus stacking. I used 30 second exposure for the foreground shots to capture more detail and reduce noise.
This is what the results looked like.

Panorama from the beach
My photograph from last year did not have this filler light and looked more like a silhouette, see below. It was also done earlier in the year, so I was able to get a more interesting composition, I think. I might retry in April next year.

After that I scrambled back up, collected my light and went to the next location, atop the cliff right by the Sea Lion. This time I opted for back lighting the Sea Lion to get more of the three dimensional look, the other settings were similar to the first shot, except this was not a panorama.

Back lighting the Sea Lion makes it stand out better, also I think portrait works better than landscape for this composition. I hope this is an improvement over my photograph from last year (below). I feel this one is more balanced.

On my way back to the parking lot, I stopped for one last photograph. This is focus stacked and exposure bracketed. I like the fact the leading lines pull the viewer to the Trowbridge light house in the distance, where the Milky Way also is.
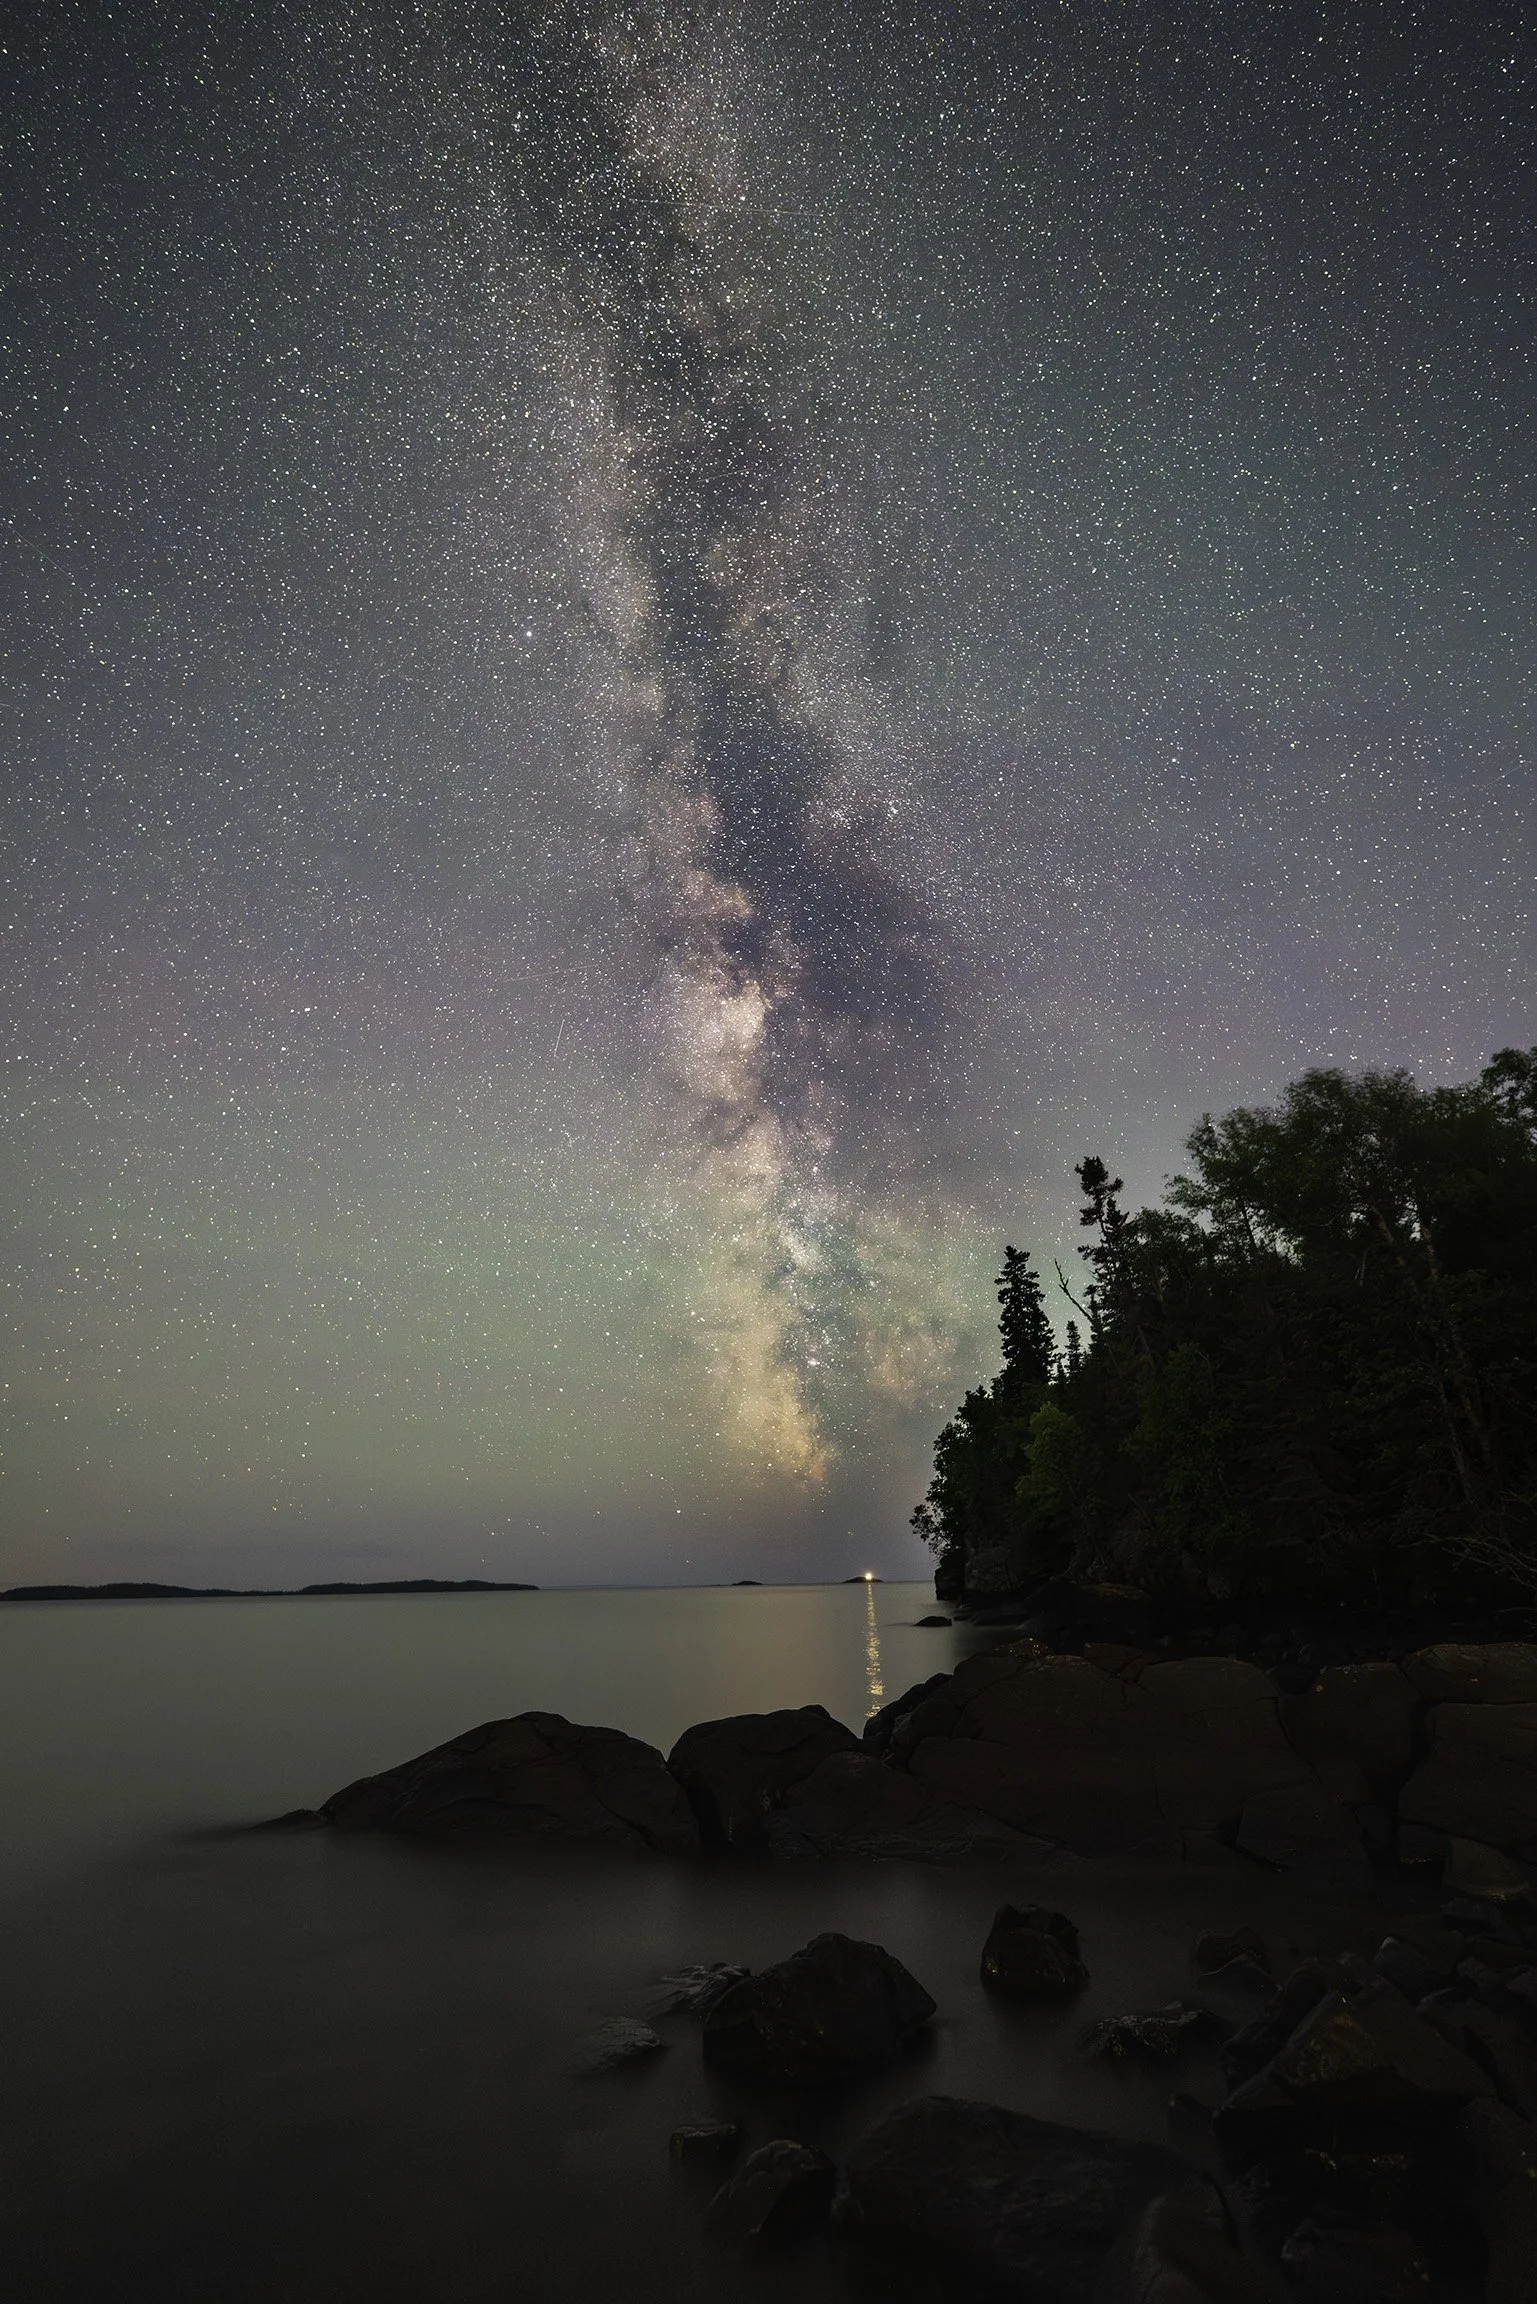
On the way back.
If perchance, anyone stops by, I’d love to hear from you. What do you think, was there improvement in this year’s attempt or do you prefer last year’s interpretation?